


Linux
This page describes installation and usage of the officially supported Cisco AnyConnect VPN client.
Supported Architectures
Please note that not all CPU architectures are supported by Cisco AnyConnect. We provide support for the x86 and x86_64 architectures. If your computer uses another CPU architecturefor example a Raspberry Pi with its ARMv6/v7 architecture, the automatic download detection will probably fail. In that case you can fall back to the OpenConnect client (which is compatible with AnyConnect, but not supported by us in an official capacity). You can find installation and usage instructions for OpenConnect in the left-hand menu.
Installation
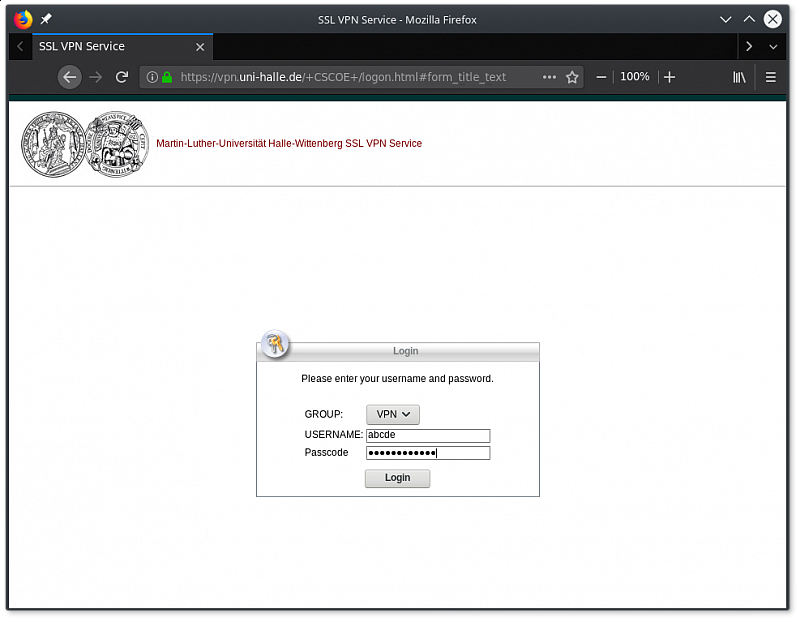
"https://vpn.uni-halle.de" in the browser
Open an internet browser and visit the page "https://vpn.uni-halle.de", which will prompt you for a username and password. Use you regular five-character username and the password you received from the Serviceportal. Then, click "Login".
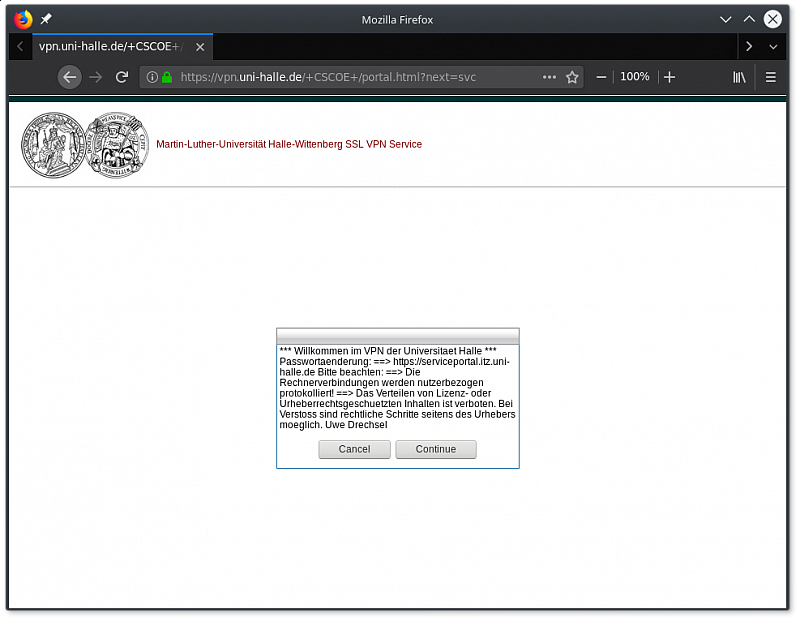
Terms of service in the browser
Read the terms of service. (Accepting these terms is required for using VPN service.)
If you accept them, click "Continue."
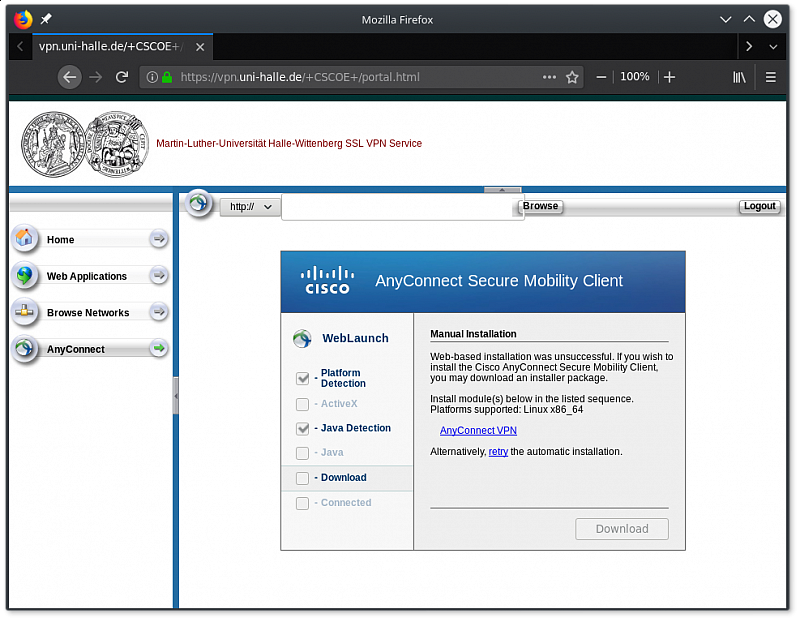
Manual download of the AnyConnect client installer
The website will now attempt to determine the AnyConnect client automatically. Please note that it a failure at this step is the expected outcome.
Once the installation has failed, you may download the client manually. Click the link labeled "AnyConnect VPN."
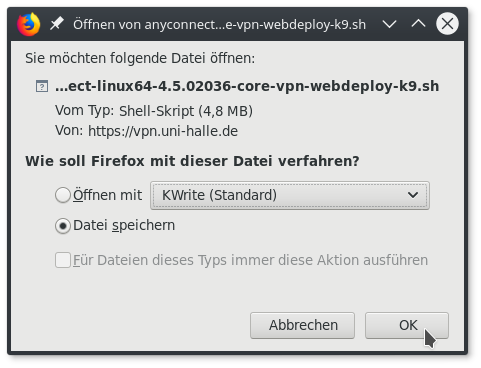
Save dialog for the AnyConnect client installer
Clicking the link will open the download confirmation window. Select "Save file" and click "OK."
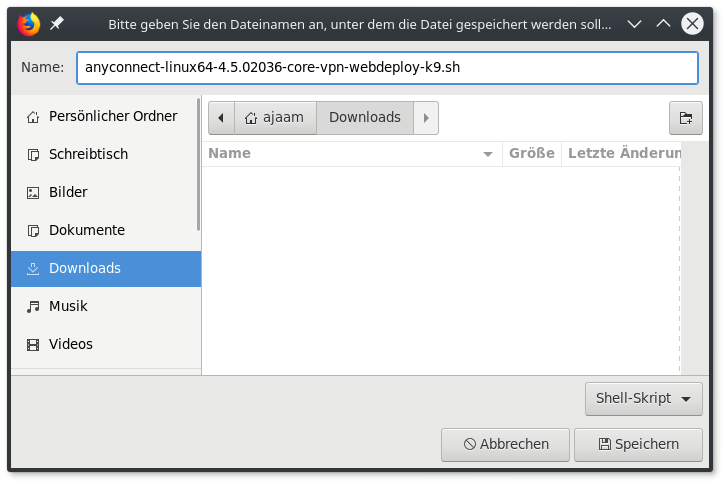
Choosing a save location
Save the file on your computer. We recommend the "Downloads" folder in your home directory as this will make the following steps easier.
My browser does not ask for a save location
Some browsers may save files in a predetermined directory without asking, usually in the "Downloads" folder in your home directory. If your browser does not present you with a "Save Location" dialog, you can probably find the downloaded client file in that directory.
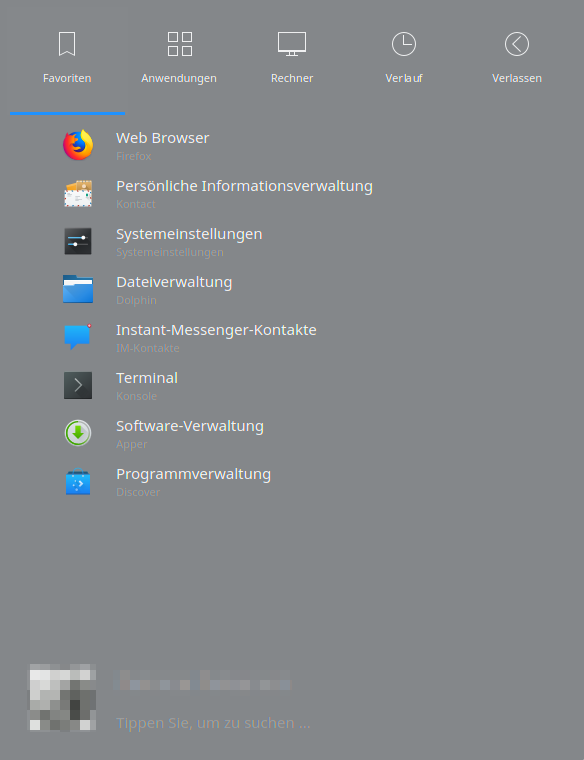
Main menu
The following steps can only be completed reliably from a command line (also called a "terminal"). Do not fret, however—you wil only have to enter a single command.
To open a terminal, open your Linux system's main menu.

Searching for "terminal" in the main menu
Enter the first few letters of the word "terminal". The correct application should be called something like "Console" or "Terminal", and it should be at the top of the list. Click it to start the application.
My main menu has no search functionality
The kind of search process described in the previous step has become common in many Linux distributions over recent years. If your distribution's main menu does not support a searchable main menu, you can usually find a terminal application in a submenu called "Tools" or "System Applications."
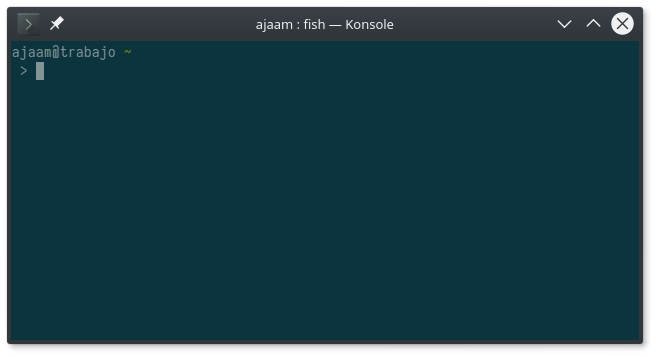
VPN Linux: Empty terminal
You will be greeted by a command-line application similar to the one depicted to the left. (The colors, fonts, and exact text displayed will probably be different.)
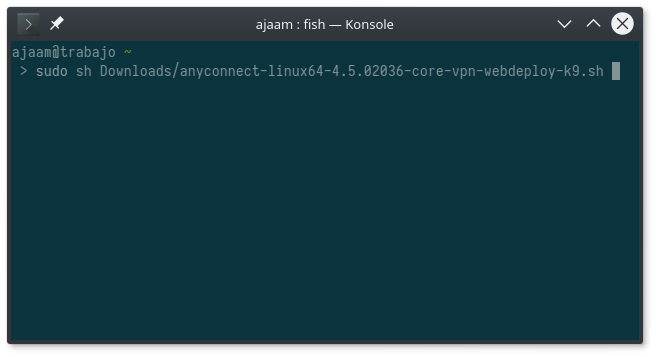
Starting the AnyConnect client installer
Now you are ready to install the AnyConnect client. To start the installation, type the following into your terminal and press Enter:
sudo sh Downloads/
Please replace "
Long filename? Try pressing ↹
To make typing long filenames easier, almost all Linux terminals support something called "tab completion": Your terminal will complete the filename for you if you press the tabulator key (↹, usually below the Esc key on the top left) and the filename is un-ambiguous.
For example, if you type the following:
sudo sh Downlo↹
Then your terminal will complete that to:
sudo sh Downloads/
Then you continue:
sudo sh Downloads/anyconnect↹
And your terminal will complete the filename:
sudo sh Downloads/anyconnect-linux64-4.5.02036-core-vpn-webdeploy-k9.sh
su instead of sudo
Some systems may not have the "sudo" program installed, which may result in the following output from the terminal command:
bash: sudo: command not found
In that case you will need to use the "su -c" command:
su -c 'sh Downloads/<name_of_the_downloaded_file>'
Please not the single quotes around the command.

sudo password prompt
Installing the AnyConnect client requires administrator privileges. Enter your computer password and press Enter.
Note that this must be the password you used for logging into your computer's account and not the password corresponding to your five-character username.
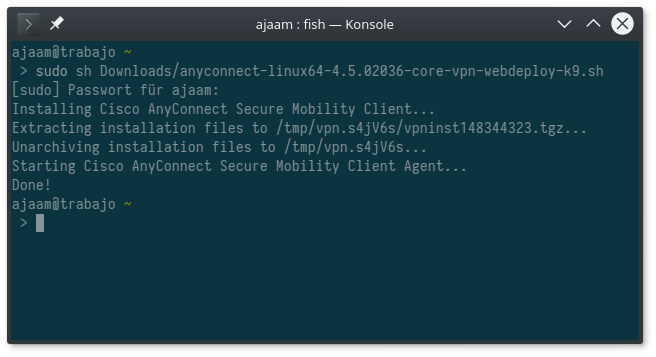
Installation successful
If you did everything correctly, the script will now be installed. When you see the word "Done!", the installation process is complete.
You may now close the terminal and delete the AnyConnect installer file in your "Downloads" directory.
Connecting to the VPN
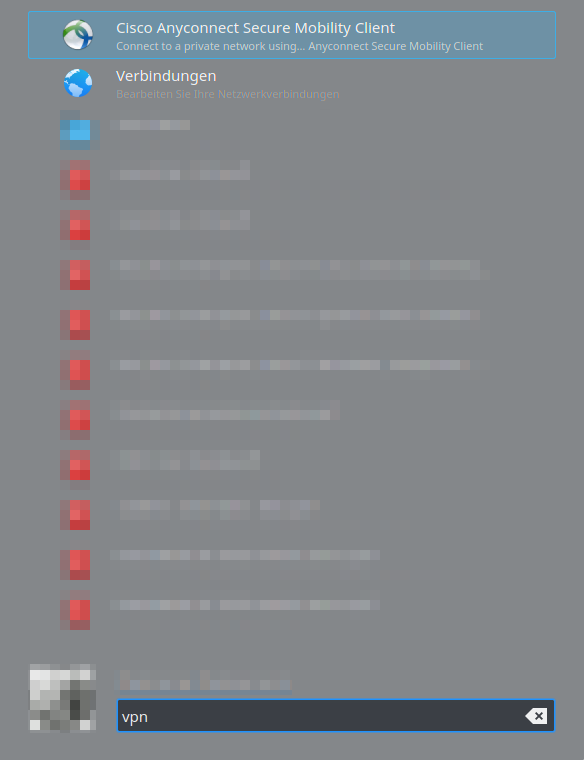
Searching the main menu for "vpn"
Open your main menu again and enter "vpn", "anyconnect", or "cisco" into the search field. After the first few letters, the AnyConnect client should appear among the results. Click it to start.
My main menu still has no search functionality
Again, if your system's main menu does not support this kind of search, you will need to find the AnyConnect client entry by yourself. It is usually in one of the "Network", "System" or "Tools" submenus.
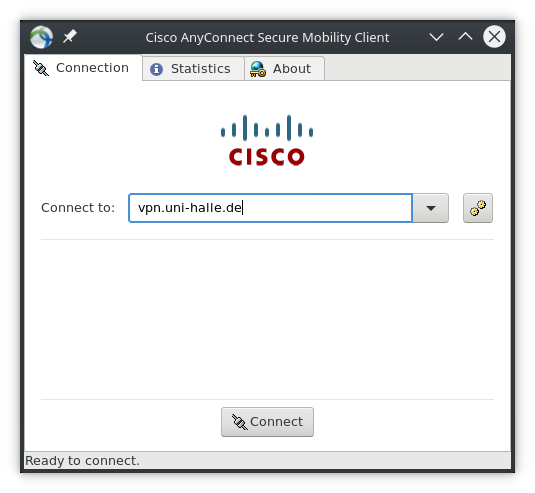
Connecting to vpn1.uni-halle.de
In the "Connect to:" filed, enter "vpn.uni-halle.de". Click "Connect" to begin establishing the connection.
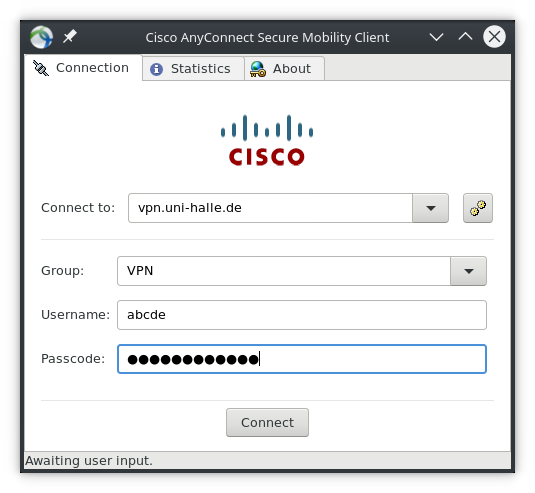
Entering user credentials in the AnyConnect client
Enter your five-character username and the corresponding password. Then, click "Connect" again.
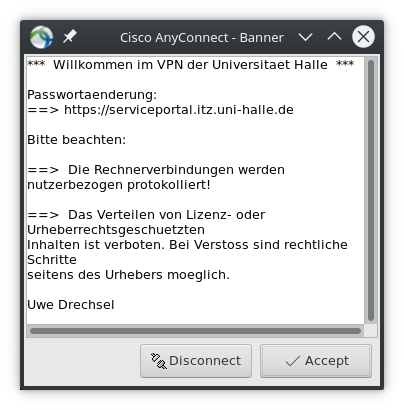
Terms of service in AnyConnect client
If you entered your credentials correctly, you will be asked to accept the terms of service for the VPN service. Accepting these is a requirement for using the service.
If you accept the terms, click "Accept" to finish establishing the VPN connection.

After a moment, you should see the AnyConnect icon in your system tray, complete with a lock symbol indicating that the connection was successful.
Disconnecting from the VPN
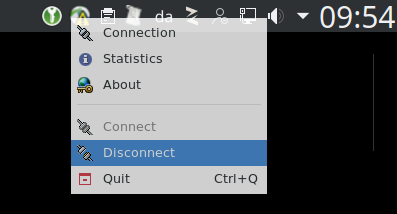
Disconnecting the VPN
To disconnect from the VPN, right click the AnyConnect icon in your system tray, then click "Disconnect." When the lock symbol has disappeared, you have successfully disconnected.