


Windows 10
Installating the VPN client
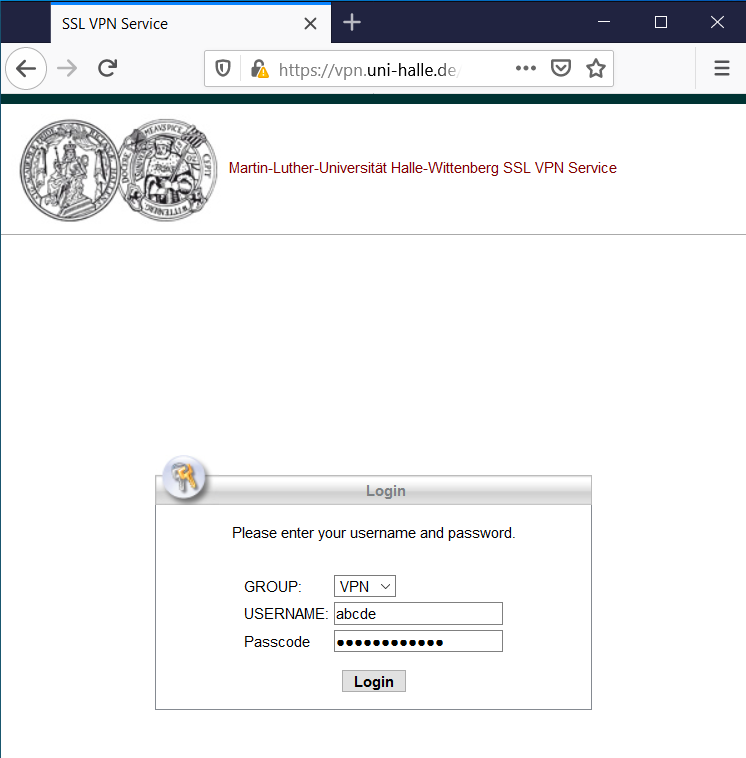
MLU VPN login page (logged out)
In your internet browser, open the page "https://vpn.uni-halle.de". Login with your five-character username and the corresponding password you received from the Serviceportal.
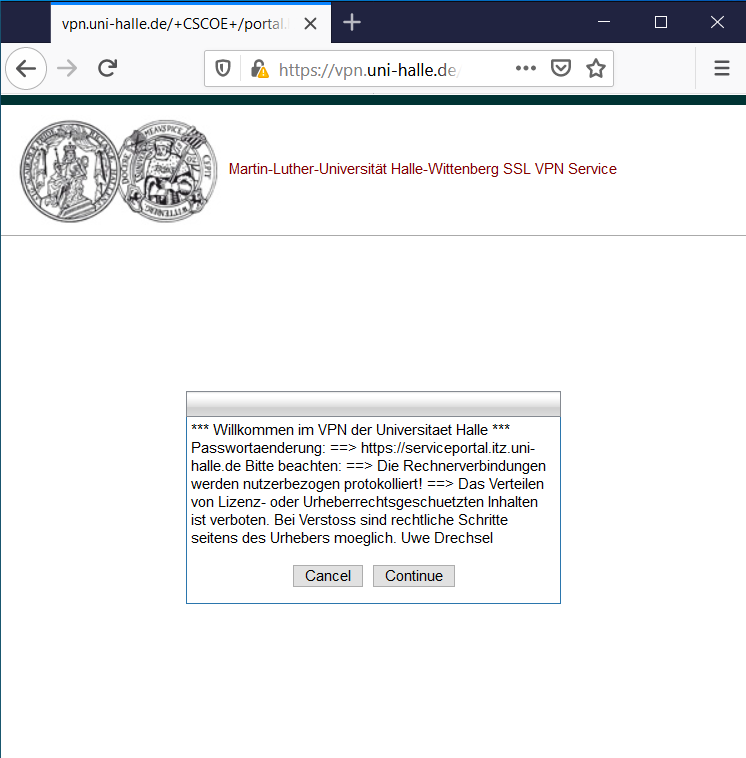
VPN terms of service
Carefully read the terms of service. Accepting these terms is a requirement for using the university's VPN service.
If you accept the terms, click "Continue."
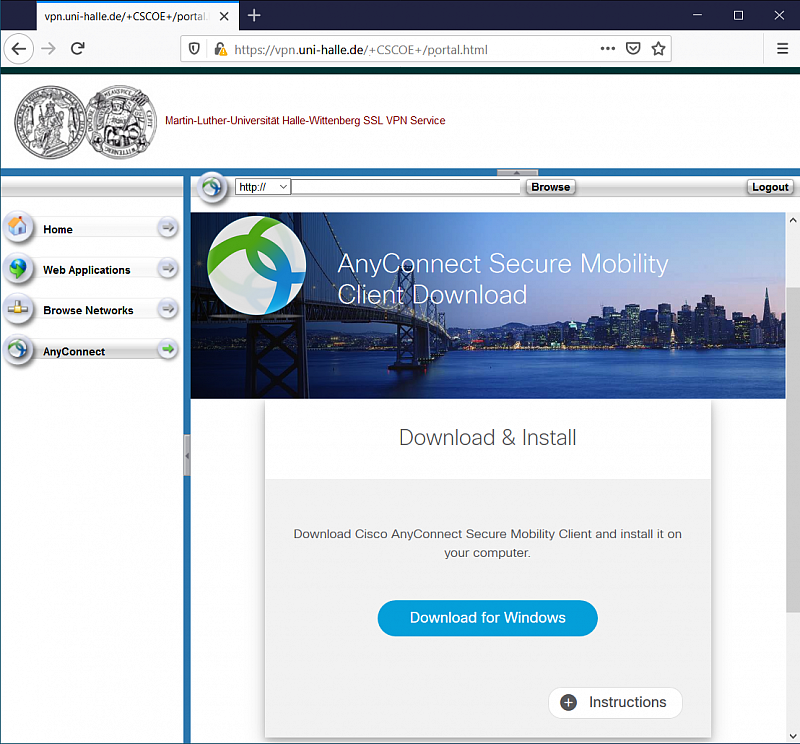
Download AnyConnect client
In the next window, click on "Download for Windows" to start downloading the AnyConnect client.

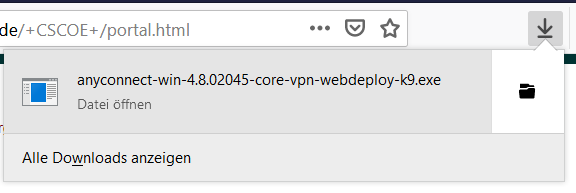
Save dialog
In some browsers, you may have to confirm the download before it actually starts.
Starting the AnyConnect client installer
Once the installer has finished downloading, click on it to start the installation. (With the Firefox browser, you can find it by clicking the "Downloads" button in the top right of the browser window.)
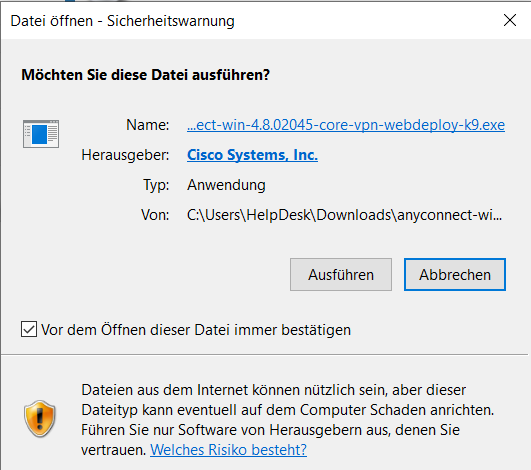
Confirm installer start
Windows will display a confirmation dialog for the installer. Make sure the installer is listed as being made by "Cisco Systems, Inc." and press "Run."
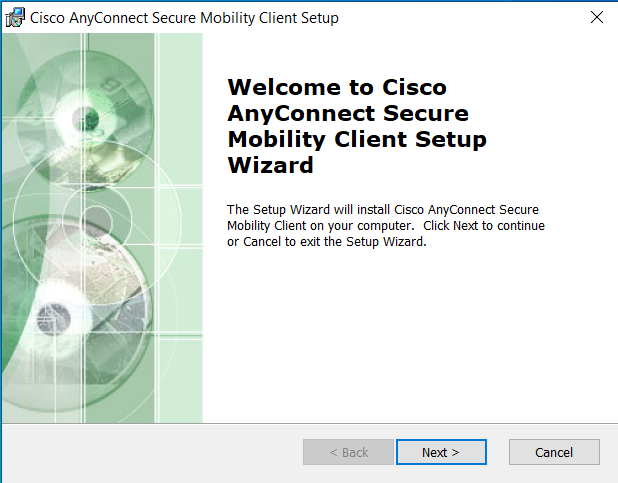
AnyConnect installer welcome page
You will be greeted by the welcome page of the installer. Click "Next" to continue.
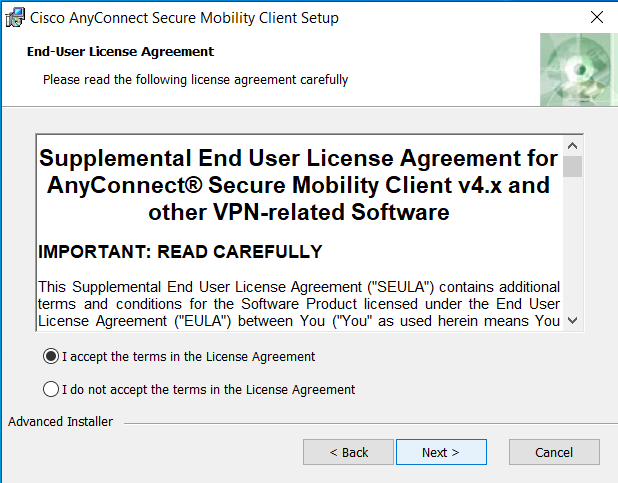
EULA with Cisco
Carefully read the End User License Agreement. Acceppting these terms is also a requirement for using the university's VPN service with the Cisco AnyConnect client.
If you accept the license agreement, select "I accept the terms in the License Agreement" and click "Next."
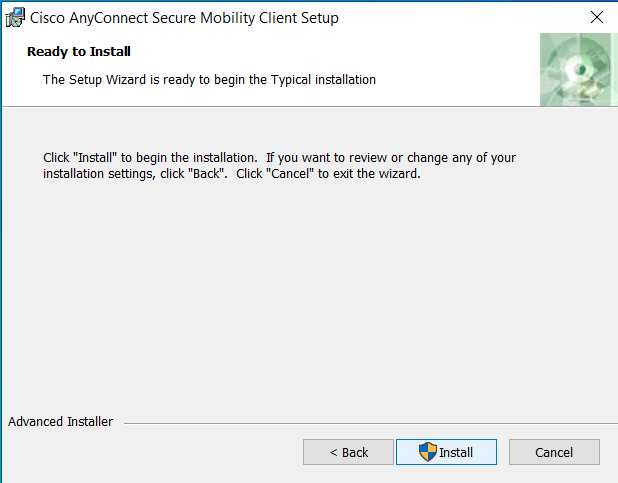
Confirm start of installation
Click "Install" to start the installation of the Cisco AnyConnect VPN client.
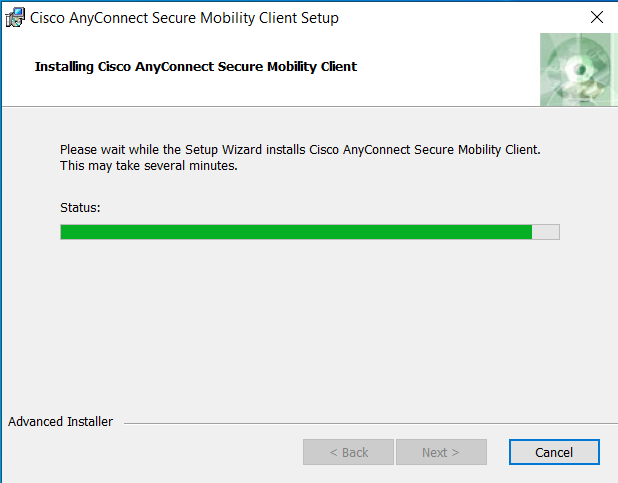
Installation in progress
The installation may take a few moments. The installer will close automatically once the installation is complete.
The VPN client has now been installed and is ready for use.
Connecting to the VPN
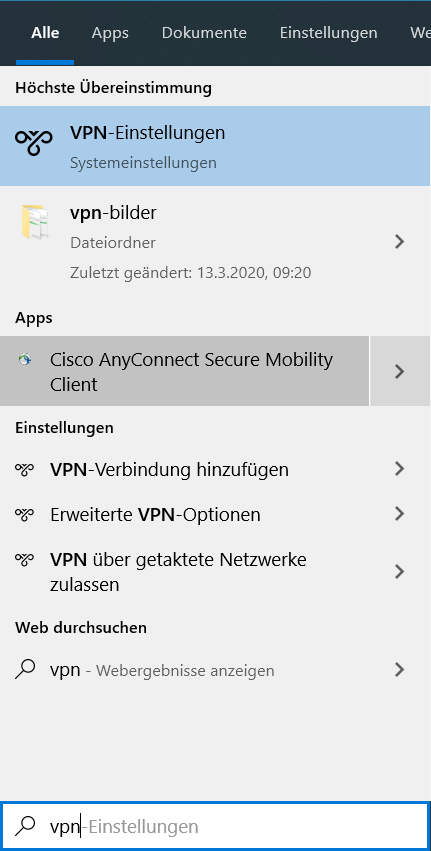
Searching for "vpn" in the start menu
Open the start menu and type "vpn". The VPN client will be listed as "Cisco AnyConnect Secure Mobility Client" (dark grey in the picture on the left).
Click it to start the VPN client.
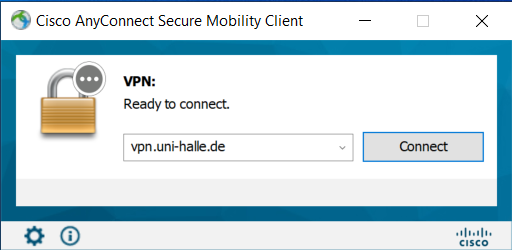
"vpn.uni-halle.de" as VPN server
In the VPN client's window, enter "vpn1.uni-halle.de" as the VPN server address and click "Connect" to start establishing the connection.
Do not add "https://" at the start of the server name.
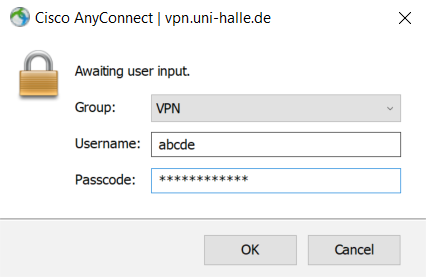
Enter credentials
Next, enter your five-character username and the corresponding password from the Serviceportal. The VPN client will save them for you so you will not have to enter them again.
Click "OK" to continue establishing the connection.
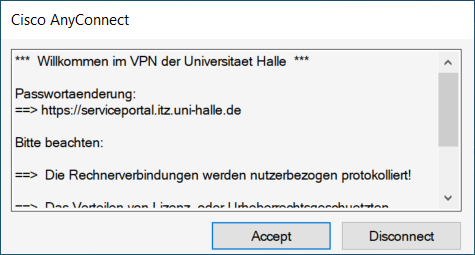
Terms of service
Once again, accepting the terms of service is a requirement for using the university's VPN service.
If you accept the terms, click "Accept."
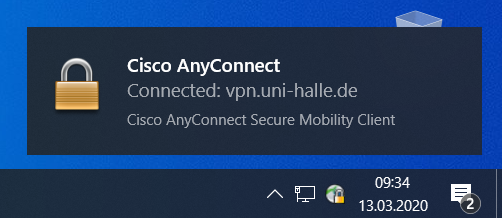
Connection established
You will receive a notification when the connection was successful. The VPN server's name, your username and password will be remembered by the VPN client for the next time you connect to the VPN, so you won't have to enter them again.